
Tagging is a way for you to label and categorize content in your feeds. Tags can be an extremely powerful way to filter your moderation, analytics, and visuals.
You can add as many tags as you'd like to any number of items.
Tagging can be done manually, but can also be automated based on your custom triggers and conditions with our Workflows feature.
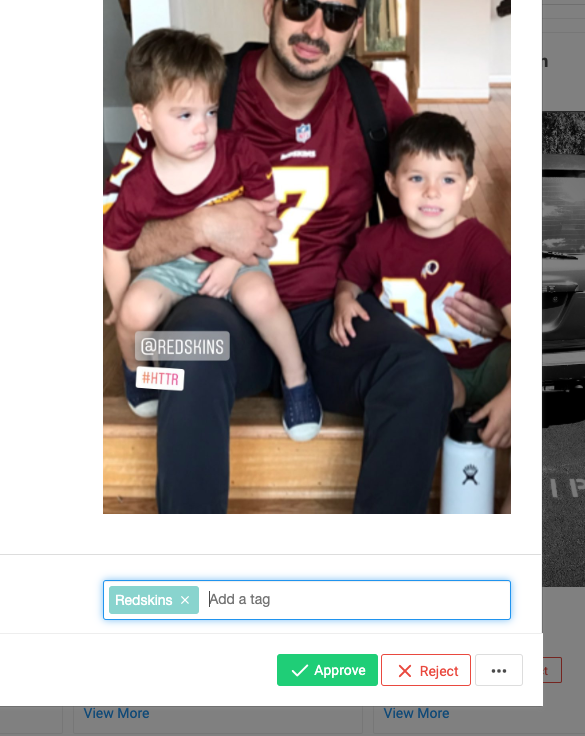
To tag an item in click "View More post".
In the Tags field, enter your tag (this can be anything) press 'enter' and click 'Save' to save the tag.
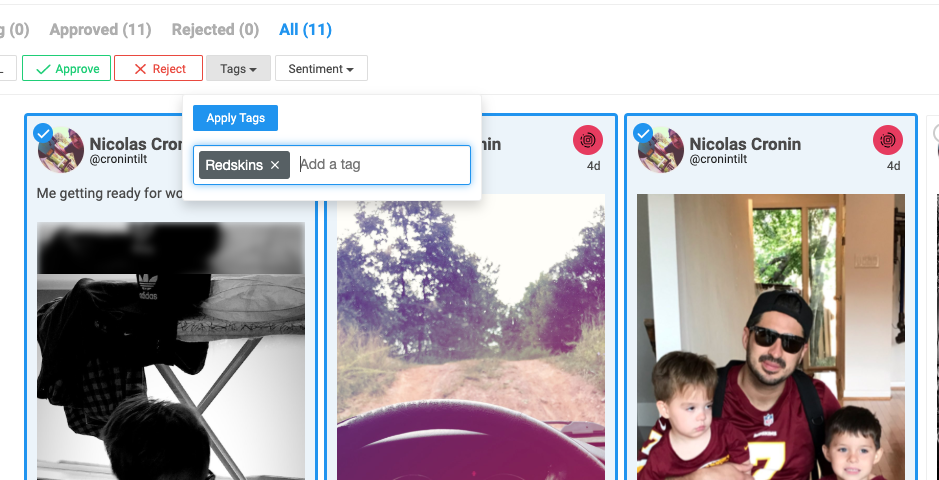
You can also bulk apply tags by selecting all of the posts in view you'd like to tag.
You can multi-select posts by clicking in the circle on the top-left corner of each post.
From there, you can use the Tags drop-down to apply a tag to all selected posts.
Filtering for Tags
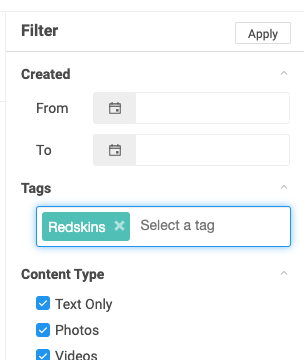
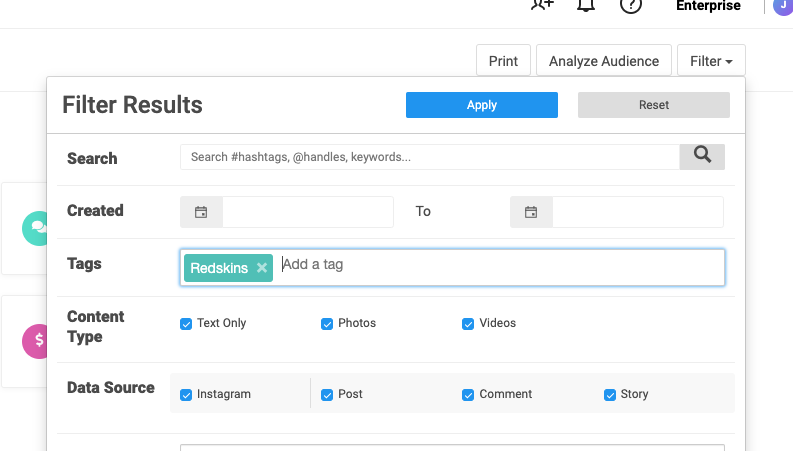
Your tags follow you throughout all of Zoomph. In any filter menus, you'll be able to filter any content and reports by content that has a specific tag.
To filter by a tag, simply enter the tag in the tags filter and click apply.
Tagging for Analytics
One of the great advantages of tagging is being able to dive deep into the analytics of your feeds.
For example, let's say you create a feed that collects all of the earned content about all of your competitors. As you collect mentions of their brand, handle, and hashtags, you can tag the items relating to each respective competitor something like, 'Competitor A', 'Competitor B', 'Competitor C', etc.
When it comes down to report on your competitors, you can easily filter out the content from each with your tags.
Tagging for Visuals
With tagging, you can also create tag filtered visuals that allow you to create multiple visuals, that are powered by the same feed, that display content unique to a specific tag.
Example: Lets say you're working in a feed collecting everything about Star Wars, and you want to create visuals to show off content for each of the different characters.
To do this, you'll naturally start by tagging content based on the product(s) featured in the post.
Next, you'll want to create a widget for each character. From there, you'll go into the Advanced Edit of each visual (available in Marketing and Enterprise accounts) and navigate to the 'Data' tab to configure the data source powering the visual.
Open up the Data source, and code in your tag under the <filters>.
To add a tag filter for your items featuring shirts, you would enter <tag add="mention"/>
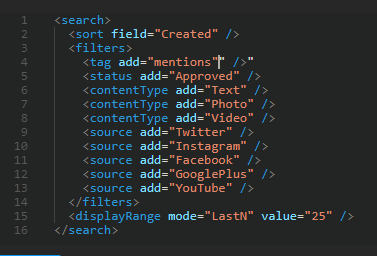
This filter will tell your widget to only display content that is approved and tagged 'R2D2'. To finish, save your changes, and launch your visual!