
The Zoomph Microsite Builder is a do-it-yourself website builder that allows you to create real-time contests, campaigns, and long-form content right from Zoomph without any code needed from designers and developers. Your microsites can incorporate your brand's own media, user-generated content, social data, and of course, Zoomph visuals.
The Microsite Builder leverages a custom drag and drop, WYSIWYG (What You See Is What You Get) editor that allows you to edit content directly on the page, making it easy to edit text and media exactly where you want it.
Getting Started
The Microsite Builder is available to all Enterprise accounts and can be purchased as an add-on for annual Marketing accounts.
The Microsite Builder is located under Activations tab in the left nav bar.
The first step in building your microsite is selecting one of our pre-made themes to start with. Each theme is tailored for different use cases and are a great starting point, but of course, can be entirely customized to your liking.
The builder has a left menu bar that has a variety of settings that control the overall site:
- Sections: these are different content sections that you can drag and drop into your site.
- Navigation: this will control the top navigation menu of our microsite. As you add sections, you'll be able to add corresponding navigation anchors.
- Style: this sets the overall look and feel of the site. Each section, however, can also be customized.
- Custom: while the microsite builder requires no coding, the custom option does allow you custom HTML and CSS should your heart desire.
- Settings: this includes the title and share links, as well as SEO settings that you'd like to have attached to your site.
- Asset Library: the Asset Library will store all of the images, videos, and other files you upload to your site.

The top menu has options to edit the site in a Simplified view, Preview the microsite, and Save your edits.
Building Your Site
Let's start with understanding the structure of the microsite. The main components are sections. These can be one of our premade sections or ones that you custom make.
Within each section, are rows. Rows are the layers of content within a section.
Within each row, are zones. Zones are the unique content blocks. There are zones for text, images, videos, social content, and more.

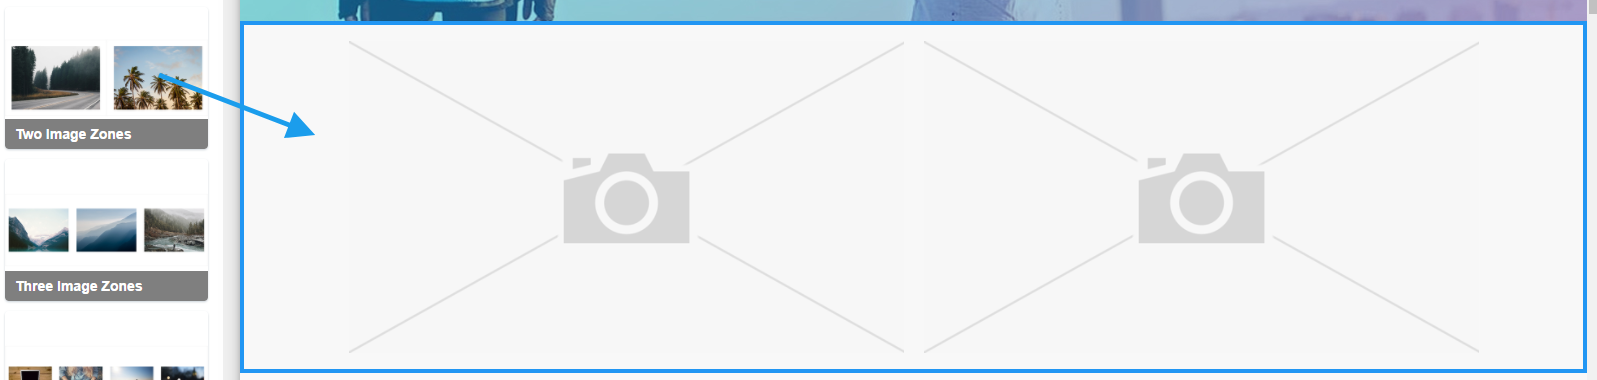
To add a section to your site, simply open the sections tab in the left menu, find the section that has the layout you're looking for, and simply click, drag and drop into your site wherever you would like it to be.
There are sections for each type of content zone, and many that have combinations of different zones. We'll cover how to create custom sections in a separate article.
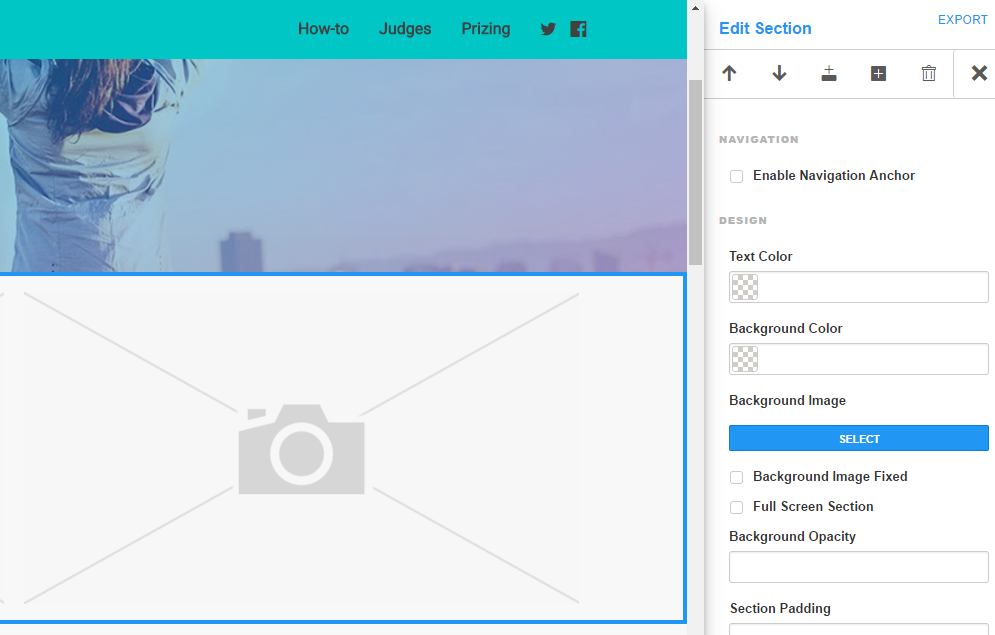
After you drop your section into the site, you can click on each zone to add and edit the content in the zone.
Upon adding a section to your site, a menu will appear on the right side allowing you to customize the styling of that section.
You can about as many sections, rows, and zones as you'd like to your site. We've covered the basics here, but have more articles on more advanced customizations you add to your site such as adding parallax scrolling and creating custom layouts,
After you've finished building your site, you can save and preview it in the top menu bar. If you'd like to have a custom domain name for your microsite, check out our microsite domain guide.